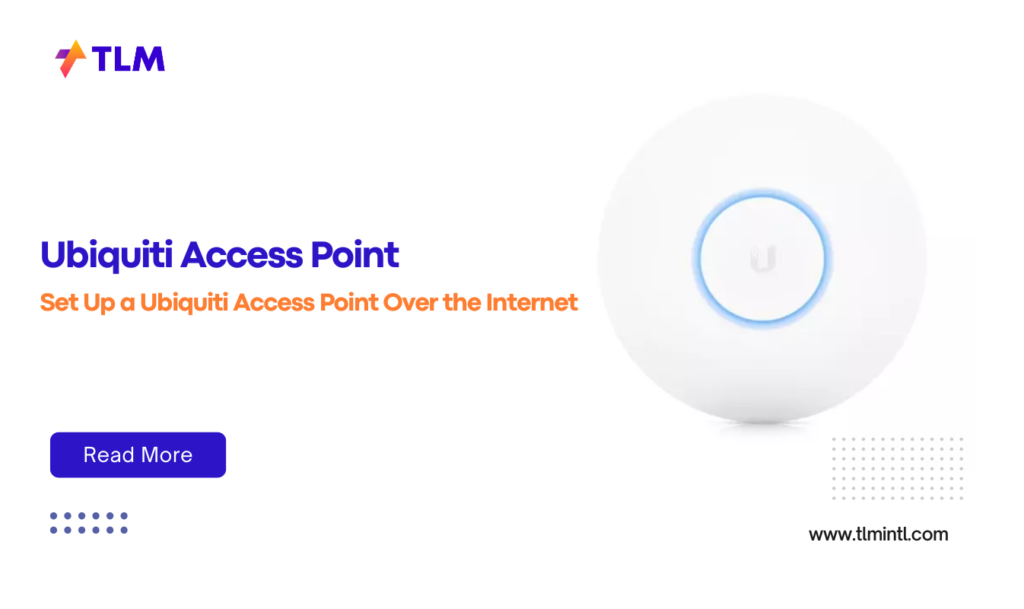
Setting up a Ubiquiti access point might seem like a daunting task if you’re unfamiliar with networking equipment. However, with the right guidance, it can be a straightforward process. Whether you’re a small business owner, an IT professional, or someone setting up a home network, this guide will walk you through the entire process, ensuring your Ubiquiti access point is configured for optimal performance.
What is a Ubiquiti Access Point?
Ubiquiti access points are part of Ubiquiti’s UniFi product line, designed to provide seamless wireless connectivity in homes, offices, and enterprise environments. These devices are known for their reliability, scalability, and advanced features such as centralized management through the UniFi Controller software.
Why Choose Ubiquiti Access Points?
Ubiquiti access points stand out due to their:
- Ease of Installation: Simple setup process with intuitive software.
- Scalability: Ideal for both small and large-scale deployments.
- Centralized Management: Manage multiple devices through the UniFi Controller or UniFi Network app.
- Advanced Features: Support for features like VLANs, guest networks, and Wi-Fi analytics.
What You’ll Need
Before starting the setup process, gather the following:
- A Ubiquiti access point (e.g., UniFi AP-AC-Pro or UniFi 6 LR).
- A Power over Ethernet (PoE) switch or PoE injector.
- An Ethernet cable.
- A computer or smartphone with internet access.
- The UniFi Controller software or UniFi Network app.
Step 1: Physical Installation
Choosing the Right Location
Select a central location to ensure optimal Wi-Fi coverage. Avoid areas with physical obstructions like walls or metal objects that can interfere with the signal.
Mounting the Access Point
- Use the provided mounting bracket to attach the device to a wall or ceiling.
- Mark the screw holes using a pencil and drill them using a 6mm drill bit.
- Insert screw anchors into the holes and secure the bracket with screws.
- Align the access point with the bracket and twist it clockwise until it locks into place.
Step 2: Connecting to the Network
Powering the Device
Connect your Ubiquiti access point to a PoE switch or PoE injector using an Ethernet cable. This cable will provide both power and data connectivity.
Connecting to Your Router
Ensure that your PoE switch or injector is connected to your router or modem via another Ethernet cable.
Step 3: Setting Up Using the UniFi Controller
The UniFi Controller software is essential for managing your Ubiquiti devices.
Download and Install
- Download the latest version of the UniFi Controller software from Ubiquiti’s official website.
- Install it on your computer (Windows, macOS, or Linux).
Launching the Software
- Open the UniFi Controller and log in using your Ubiquiti account credentials.
- If you don’t have an account, create one by visiting account.ui.com.
Adopting Your Access Point
- The controller should automatically detect your access point.
- If not, ensure both devices are on the same network and manually set the inform URL if needed.
- Click “Adopt” to add your device to the controller.
Step 4: Configuring Wi-Fi Settings
Once your access point is adopted:
- Navigate to “Devices” in the UniFi Controller dashboard.
- Select your access point and click on “Configure.”
- Set up your wireless network by entering:
- A name (SSID) for your Wi-Fi network.
- A strong password.
- Enable additional features like guest networks if required.
Step 5: Using the UniFi Network App
If you prefer managing your network from a smartphone:
- Download and install the UniFi Network app from Google Play Store or Apple App Store.
- Connect your phone to the same network as your access point.
- Log in using your Ubiquiti account credentials.
- Follow on-screen instructions to detect and configure your device.
Step 6: Firmware Updates
After setup, ensure that your device firmware is up-to-date:
- In the UniFi Controller, go to “Devices.”
- Select your access point and check for firmware updates.
- Apply updates if available.
Troubleshooting Common Issues
If you encounter issues during setup:
- Device Not Detected: Ensure all cables are securely connected and that your firewall isn’t blocking connections.
- Firmware Issues: Update firmware via the controller dashboard.
- Factory Reset: If all else fails, perform a factory reset by holding down the reset button for 10 seconds.
Advanced Features
Once set up, explore advanced features like:
- VLAN configuration for segmented networks.
- Traffic shaping and bandwidth control.
- Guest portals for secure guest Wi-Fi access.
Conclusion
Setting up a Ubiquiti access point is an efficient way to enhance your network’s performance and reliability. By following these steps, you can enjoy seamless connectivity while leveraging advanced management features through Ubiquiti’s ecosystem.
For more information on networking equipment and competitive pricing for resellers, visit TLM International—a trusted leader in IT distribution.


